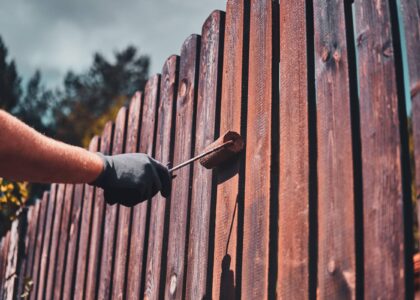
Painting your fence is a great way to refresh its look while protecting it from the elements. Proper preparation and painting techniques are key to achieving a long-lasting, professional finish. Here’s a step-by-step guide on how to prep, paint, and protect your fence.
1. Prepare the Surface
Proper preparation is the most important step for a smooth, durable finish. Begin by cleaning the fence thoroughly. Use a pressure washer or a garden hose and scrub brush to remove dirt, mildew, and old peeling paint. For wooden fences, inspect for any rotting or damaged boards, and replace them if necessary. Sand the surface to ensure smoothness, especially in areas where old paint has chipped. For metal fences, scrape off any rust and use a wire brush to smooth the surface.
2. Prime the Fence
Priming your fence before painting helps the paint adhere better and lasts longer. For wood fences, use an exterior wood primer, especially if you are covering a darker stain or raw wood. Metal fences need a rust-inhibiting primer to prevent corrosion. Be sure to let the primer dry fully before moving on to the painting process.
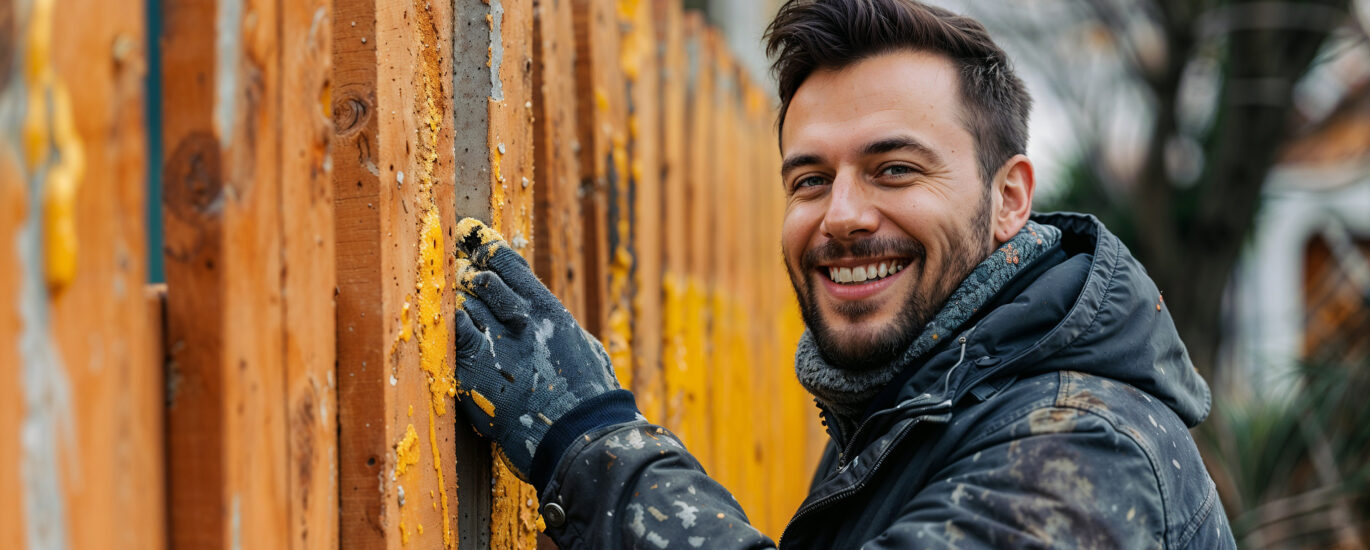
3. Apply the Paint
Once the primer is dry, you can begin painting. Choose a high-quality exterior paint designed for fences. Use a paintbrush for more control over details, or a sprayer for a more uniform, quick application. Apply two coats for optimal coverage and durability, allowing the first coat to dry fully before applying the second.
4. Protect the Finish
After painting, protect your fence with a weatherproof sealant. This is particularly important for wooden fences, as it helps resist moisture, UV damage, and fading. A good sealant will extend the life of your paint job and keep your fence looking fresh for years.
By following these tips, you’ll achieve a beautifully painted fence that stays protected and looking great for years to come.